How to Measure and Install Commercial Garage Doors: A Professional Step-by-Step Guide
Introduction
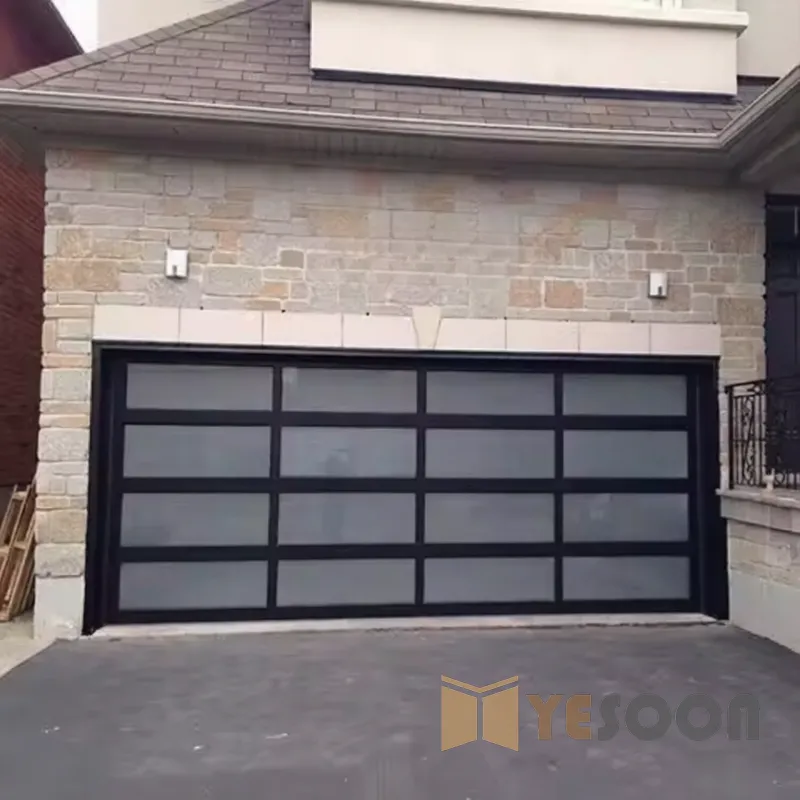
Proper measurement and installation of commercial garage doors is critical for safety, longevity, and code compliance. Unlike residential doors, commercial doors are heavier, larger, and under higher spring tension -making correct installation not just important, but essential for safety.
This guide walks you through every step from initial measurements to final testing. Always follow the manufacturer’s specific instructions for your door model. This guide provides universal best practices.
Part 1: Taking Accurate Measurements
Tools You’ll Need
- Steel tape measure (25 ft minimum)
- Level (4 ft or longer)
- Carpenter’s square
- Pencil and notepad
- Laser measure (optional, for large openings)
The 7 Critical Measurements
1. Opening Width (W)
Measure horizontally from one side of the rough opening to the other at three points: top, middle, and bottom.
– Record the narrowest measurement
– Commercial standard: -?inch tolerance
– Acceptable range: Up to ? inch variation
2. Opening Height (H)
Measure vertically from the floor (highest point) to the top of the rough opening at left, center, and right.
– Record the shortest measurement
– Check floor level -concrete floors are often not perfectly flat
3. Side Room (S)
Measure from each side of the opening to the nearest obstruction (walls, columns, pipes).
– Standard mounting: 4? inches minimum each side
– Low-headroom mounting: 3? inches minimum
– Track mounting: varies by track radius
4. Headroom (HR)
Measure from the top of the opening to the nearest overhead obstruction (ceiling, structure, lights).
– Standard track: 12-18 inches minimum
– Low-headroom track: 6?-10 inches minimum
– High-lift track: varies based on lift height
5. Backroom (B)
Measure from the opening inward to the nearest obstruction.
– Standard lift: opening height + 18 inches minimum
– High lift: depends on lift height
– Needs to accommodate horizontal track length
6. Floor Condition
Check for:
– Slope or uneven areas (mark high and low spots)
– Cracks or damage that might affect bottom seal
– Threshold height (if present)
7. Wall Construction
- Material: Concrete, steel, masonry, or wood
- Thickness: For bolt anchoring depth
- Reinforcement: Any steel beams or columns in the way
Measurement Recording Template
Opening Width: _____ inches (at narrowest point)
Opening Height: _____ inches (at shortest point)
Left Side Room: _____ inches
Right Side Room: _____ inches
Headroom: _____ inches
Backroom: _____ inches
Floor Condition: Level / Sloped / Uneven (describe)
Wall Type: Concrete / Steel / Masonry / Wood
Part 2: Pre-Installation Checklist
Site Preparation
- [ ] Opening clean and free of debris
- [ ] No obstructions in side room or headroom areas
- [ ] Electrical supply available (110V or 220V as required)
- [ ] Floor clean and dry (for seal installation)
- [ ] Weather seal surface is smooth and clean
- [ ] Confirm door size matches opening measurements
Tools Required
- Power drill with masonry bits
- Socket wrench set
- Level (4 ft)
- Welder (if steel reinforcements needed)
- Ladder or scaffolding
- Safety glasses and gloves
- Torque wrench (for spring installation)
- Clamps and vice grips
Safety Warning
-? Commercial garage door springs are under extreme tension. Improper handling can cause serious injury or death. Always:
– Use proper winding bars (never screwdrivers)
– Follow manufacturer spring adjustment specs
– Wear ANSI-rated safety glasses
– Have a qualified technician handle spring work
– Never attempt to adjust springs without proper training
Part 3: Installation Steps
Step 1: Install Track Mounting Brackets
- Position vertical tracks on each side of the opening
- Ensure tracks are perfectly plumb (use level)
- Mark and drill mounting holes
- Secure brackets with appropriate anchors for wall type
- Do not fully tighten yet -alignment adjustments needed
Step 2: Install Horizontal Track
- Connect horizontal track sections to vertical tracks
- Ensure smooth transition at curve/joint
- Verify horizontal tracks are level
- Adjust track angle to manufacturer specification (usually 2-3? back-hang)
- Secure to ceiling or overhead structure
Step 3: Mount Spring System
For torsion springs (most common commercial type):
1. Mount spring shaft on bearing brackets above opening
2. Slide springs onto shaft (left-wound and right-wound opposite)
3. Install winding cones on spring ends
4. Attach cable drums to shaft ends
5. Install center bearing plate if using multiple springs
-? Spring winding should be done by a qualified technician only
For extension springs:
1. Mount pulleys and safety cables
2. Attach springs to cables and brackets
3. Ensure safety cables run through spring center
Step 4: Install Cables
- Route lift cables from bottom bracket to cable drum
- Ensure cables are properly seated in drum grooves
- Apply equal tension to both sides
- Cable length must match door height exactly
- Check for fraying or damage before installation
Step 5: Mount Door Panels
- Start with bottom panel -center in opening
- Install hinges at panel edges
- Attach rollers to hinges
- Install weather seal on bottom panel
- Stack each subsequent panel, attaching hinges
- Ensure panels align properly -gaps should be uniform
- Install reinforcement struts on heavy-duty panels
Step 6: Connect Panel Assembly to Springs
- With door fully down, attach cables to bottom brackets
- Wind torsion springs to manufacturer specification
- Slowly release tension and check cable tension equality
- Test door balance: door should stay at chest height when released
- Adjust spring tension until perfectly balanced
Step 7: Install Operator / Motor
- Mount operator to ceiling structure (use rated fasteners)
- Connect operator arm to door bracket
- Install control station (wall button, keypad, or remote receiver)
- Wire power supply per electrical code
- Set open and close limits on operator
- Test auto-reverse function (mandatory safety feature)
Step 8: Final Adjustments
- Track alignment: Adjust so rollers move freely without binding
- Door balance: Manually lift halfway -should stay in place
- Spring tension: Equal pressure on both sides
- Cable tension: Identical on left and right
- Bottom seal: Full contact with floor across entire width
- Safety sensors: Photo eyes aligned and functioning
- Auto-reverse: Test with obstruction -must reverse on contact
Part 4: Common Installation Mistakes to Avoid
-Incorrect Measurements
- Measuring only one point (must measure at least 3)
- Not accounting for floor slope
- Ignoring side room and headroom requirements
-Improper Track Alignment
- Vertical tracks not perfectly plumb
- Horizontal tracks not level
- Track joints not smooth (causes roller wear)
- Insufficient back-hang angle
-Spring Installation Errors
- Using incorrect spring wire size
- Improper number of winding turns
- Both springs wound in the same direction (one must be left, one right)
- Not counting winding turns precisely
-Electrical Issues
- Wrong voltage for operator
- Inadequate wire gauge for motor draw
- Missing emergency disconnect
- Photo eyes not properly wired to operator
-Panel Installation Problems
- Gaps between panels (not fully seated)
- Stripped hinge bolts
- Panels not level
- Bottom seal not making full contact
Part 5: Post-Installation Testing
Operator Test (for motorized doors)
- Open and close 5 full cycles
- Test wall button, remote, and keypad
- Verify open/close limit positions
- Check auto-reverse with a 2?4 board
- Test emergency manual release
Manual Operation Test
- Door should move freely with minimal effort
- No binding or scraping sounds
- Stays in place at halfway point (good spring balance)
- Bottom seal makes full contact
- No gaps at panel joints
Safety Inspection
- [ ] Photo eyes aligned and working
- [ ] Auto-reverse within 2 seconds of obstruction
- [ ] Emergency release handle accessible and labeled
- [ ] Warning labels visible
- [ ] All guards and covers in place on spring system
- [ ] No sharp edges or exposed pinch points
Part 6: Maintenance Schedule After Installation
| Frequency | Task |
|---|---|
| Monthly | Lubricate rollers, hinges, and tracks |
| Quarterly | Check spring tension and cable condition |
| Semi-annual | Test safety features (auto-reverse, photo eyes) |
| Annually | Professional inspection of all components |
Need Professional-Grade Commercial Garage Doors?
At Yesoon Door, we manufacture commercial and industrial garage doors for projects worldwide:
- Insulated Sectional Doors: R-8 to R-18, steel with polyurethane insulation
- Roller Garage Doors: Space-saving, motorized, available with wind-load certification
- Custom Sizes: Built to your exact opening dimensions
- Factory Direct: Save 30-40% compared to distributor pricing
Get a Factory Direct Quote
Send your opening size, quantity, and destination port. Yesoon Door replies within 24 hours with pricing, lead time, and certification documents.
[Browse Sectional Garage Doors –
[Browse Roller Garage Doors –
[Get Installation Support –
Tags: garage door installation, commercial garage doors, sectional door installation, measuring garage doors, door measurement guide, commercial door installation, spring adjustment, door safety, contractor guide
Related Products
Browse sectional garage doors, roller garage doors and more factory direct door and window solutions.
Request a quote
Tell us the opening size, project location, quantity and any required certification. We will confirm the specification, lead time, export documents and factory price.
Related guides
Commercial Overhead Door Installation: What Contractors Need to Know
Fire Shutter Code Requirements: What NFPA 80 and IBC Actually Require